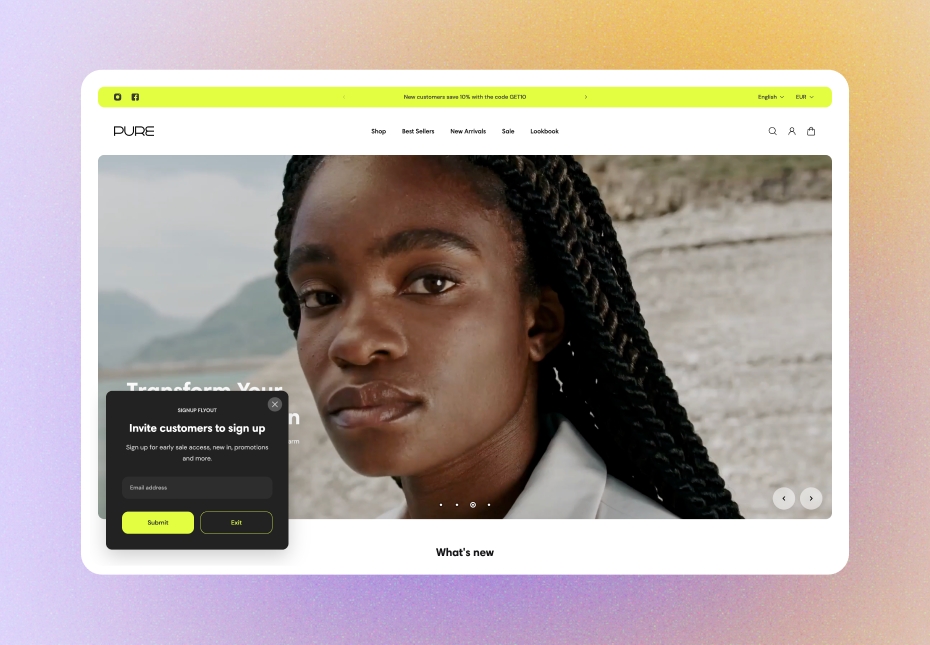
Signup flyout
Use this popup to invite customers to join your mailing list and be the first to get the latest news and special offers.
GENERAL
Color scheme
Choose a separate color scheme for the popup.
Desktop position
Choose the popup position on desktop.
Vertical spacing
Adjust the spacing between the popup and the screen border, either top or bottom, depending on the popup position.
Horizontal spacing
Adjust the spacing between the popup and the screen border, either left or right, depending on the popup position.
Desktop content width
Adjust the content width within the popup.
CONDITIONS
Adjust where and when to show the popup to customers.
Where to show
Choose the pages of your store to show the popup on.
On all pages | the popup appears on every page within your store |
On target pages | the popup appears on certain pages, the URLs of which you add as rules |
On tagged product pages | the popup appears on the product pages with certain tags |
Target pages
If you’ve chosen to show the popup on target pages, add the URLs of the needed pages as rules to the input field. Note that you should add each rule in a separate line. Learn about page targeting rules in the theme.
Product tags
If you’ve chosen to show the popup on tagged product pages, add the needed product tags to the input field, for example, ‘sale’ or ‘new’. The popup will appear only on the product pages of the products having these tags. Note that you should separate each tag with a comma. Learn how to add and manage product tags in Shopify.
When to show
Choose the conditions on which to show the popup to customers.
Immediately | the popup appears right when the customer opens a page |
On conditions | the popup appears as soon as at least one of the conditions below is met |
Time delay
Choose the time the customer should spend on the page for the popup to appear.
Page scroll depth
Choose how far a customer should scroll down the page for the popup to appear.
Show on exit-intent
Select to show the popup when the customer is about to leave your page. Note that the option tracks mouse movements and thus works only on desktop.
FREQUENCY
Adjust how often to show the popup to customers.
How often to show
Choose the frequency of the popup appearance.
CONTENT
Subheading
Fill in the subheading to draw customers' attention.
Heading
Fill in the heading to state what you want to convey.
Body
Fill in the body with the information you want to convey.
Heading size
Choose the font size for the content heading.
Body size
Choose the font size for the content body. Note that the option applies only to the 'Paragraph' body text formatting.
Disclaimer
Fill in the disclaimer statement or any details about your campaign.
Content alignment
Choose the content alignment within the popup.
BUTTONS
Input style
Choose the style of the email input box.
Solid | when the box is filled with color |
Outline | when only the box borders are colored |
Submit button label
Fill in the button name to state what happens when the customer selects it. Without a name, the button disappears.
Submit button style
Choose the style of the button.
Solid | the button filled with color |
Outline | the button with only its borders colored |
Text | the label with an arrow icon |
Close button label
Fill in the button name to state what happens when the customer selects it. Without a name, the button disappears.
Close button style
Choose the style of the button.
Solid | the button filled with color |
Outline | the button with only its borders colored |
Text | the label with an arrow icon |
Show social media icons
Select to show icons with links to your social media. Add links in Theme settings > Social media.
IMAGE
Image
Select an image for the popup. You can choose images either from your library or the free images collection. Note that the free images you use are also saved to your library. You can further edit the uploaded image: add a focal point and fill in an alt text.
Video
You can add a video instead of an image. In this case, the video has a priority. You can either choose a video from your files or upload a new video from your device. Note that the newly added videos are also saved to your files. You can further edit the uploaded video: add a cover image and fill in an alt text.
Image position
Choose the image position against the content of the popup, or make it the popup background. Note that on mobile devices, small screens, and browser windows that fit less than 768 pixels, the image always appears at the top or as a background.
Hide image on mobile
Select to hide the image on mobile to minimize the popup size.
Overlay opacity
For the ‘Background’ image position, dim the image to increase legibility of the content in the foreground.
SUCCESS MESSAGE
Show the message after the visitor submits their email to tell them they’ve been successfully added to the mailing list and to provide the discount code if you promised to give one for the subscription. Note that the message is not visible in the theme editor.
Show message
Select to show the message after the visitor submits their email.
Heading
Fill in the heading to state what you want to convey.
Body
Fill in the body with the information you want to convey.
Discount code
Fill in the discount code if you promised to give it to the store visitor for the subscription. To get the discount code, create the needed type of discount in your admin, select the ‘Discount code’ method, and input or generate the code. Learn about offering discounts in Shopify.
Last updated