Swatches
Swatches are a great solution to use with product pages, product cards, and search filters. If customers need a product of a certain color, material, or texture, swatches make it better for them to visually detect the needed option and study other options they might like.
PRIMARY SWATCH OPTION
Assign the option the values of which will show as swatches in all the places throughout the store: product pages, various carousels and girds featuring product cards, and filters on the ‘Search’ and ‘Collection’ pages.
Option name
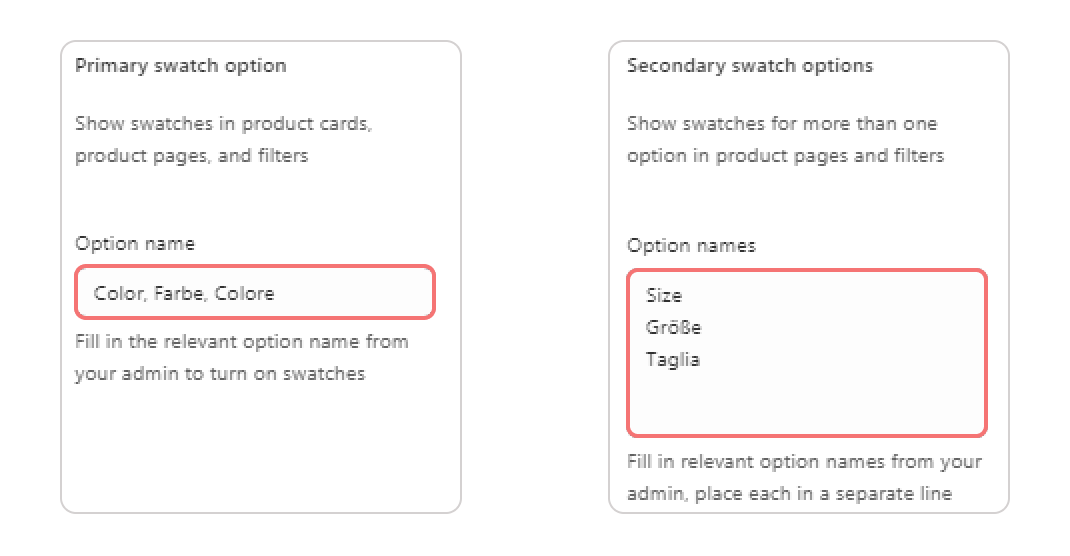
To turn the swatches on, add the relevant option name to the input field. The option name should be the same as the one you have for your products in admin. Note, that if you leave this field empty, all product options in your store will show only value names.
Shape for product cards
Choose the shape of the swatches in the product cards.
Size for product cards
Adjust the size of the swatches in the product cards.
Shape for product pages
Choose the shape of the swatches on the product pages.
Size for product pages
Adjust the size of the swatches on the product pages.
Shape for filters
Choose the shape of the swatches in the search filters.
Size for filters
Adjust the size of the swatches in the search filters.
SECONDARY SWATCH OPTIONS
Secondary options allow to represent more than one product option with swatches, not only ‘Color’ but, for example, ‘Material’ or ‘Frame’. They appear on product pages and in search filters. Note, that you can’t use variant images for secondary swatch options.
Option names
To turn the swatches on, add the relevant option names to the input field. The option names should be the same as those you have for your products in admin. Note, that you need to place each option name in a separate line.
Shape for product pages
Choose the shape of the swatches on the product pages.
Size for product pages
Adjust the size of the swatches on the product pages.
Shape for filters
Choose the shape of the swatches in the search filters.
Size for filters
Adjust the size of the swatches in the search filters.
CUSTOM COLORS AND PATTERNS
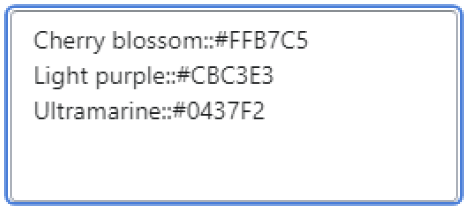
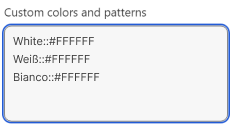
The theme provides standard swatches for a number of colors. If your products have more specific option values, like cherry blossom, light purple, or ultramarine, assign swatches for them by adding a rule (option value::#hexcolorcode) to the input field. Don't forget the two colons that separate the option value and the color code, as well as the # before the color code. Note that you should add only one rule per line. You can use this hex color palette to choose the right shade and see its code.
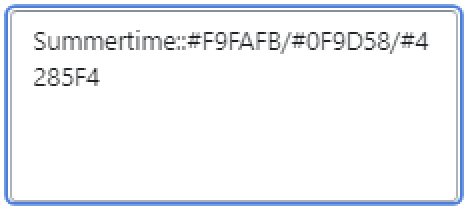
You can use several color codes to create a complex swatch with vertical stripes. Do this by adding a rule (option value::#hexcolorcode/#hexcolorcode/#hexcolorcode) to the input field. Don't forget to separate color codes with a forward slash ( / ) and insert no spaces in between.
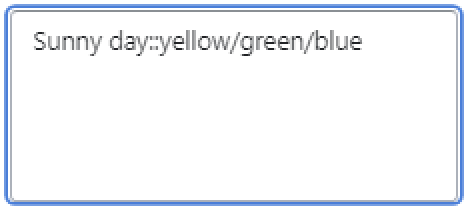
If your complex swatch includes colors from the list of standard colors, you can replace color codes in the rule with the relevant keywords.
You can also initially list several colors in the option value field when creating variants for your products in admin. This way, the complex swatch will be created automatically. Don't forget to separate color keywords with a forward slash ( / ) and insert no spaces in between (the letter case doesn’t matter). Note that this approach works similarly to swatches: standard colors appear automatically, and custom colors are added as a rule.
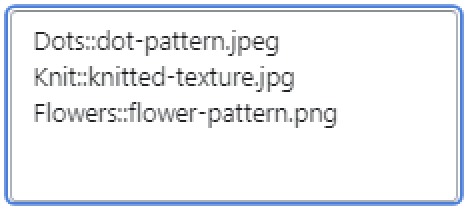
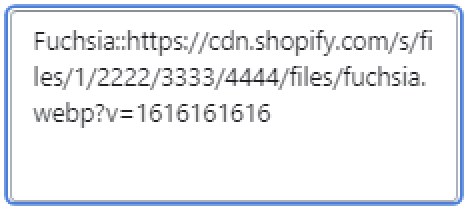
If you want to use patterns and textures as swatches, add an image instead of a hex code. First, add the image to your files in the admin. Study the Shopify file requirements for correct upload. Then add a rule (option value::file-name.png) to the input field. Don't forget the two colons and the file extension.
Note, that the rule (option value::file-name.png) applies only to the images with .jpg, .png, or .jpeg extensions. For other image formats, add a link to the file instead.
LOCALIZATION OF SWATCHES
If you sell internationally and want to keep swatches in other languages, add the translated option name to the corresponding ‘Option name’ field. For a primary swatch option, separate its translations with a comma. For secondary swatch options, place each translation in a separate line.
Also, add translated option values with color codes as rules to the corresponding ‘Custom colors and patterns’ field (option value translation::#hexcolorcode).
Last updated
